8-bit style acrylic sculpture
6 Nov 2011
TechnologyOriginally posted at https://tech.labs.oliverwyman.com/blog/2011/11/06/8-bit-style-acrylic-sculpture/
A while back I did a post talking about working with MDF and a laser cutter. In that, I was using a program to generate the design for a sculpture and feeding the design to a laser cutter. This time around, the design is fairly simple and doesn’t need much computer help to build it, but there’s a few different options for how things can look, and so I’d like to be able to preview it beforehand. Previously, I was using Blender, but that’s a bit heavyweight for my little netbook, and given I’m just using it for viewing rather than editing, there are better options, and so I’m having a look at one of those along the way as well.
My tool of choice for today is the Python Computer Graphics Kit a.k.a. cgkit (I’ve put together a Debian packaged version while doing this). The documentation is a bit variable, but they’ve got a nice little viewer program that we can hack away at and use to make a tool to do what we want.
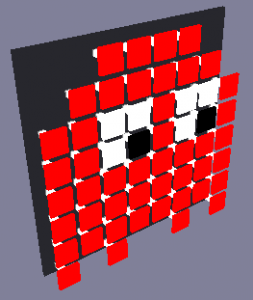
The end goal here is a sculpture consisting of a series of small squares of acrylic mounted on little rods so they are spaced away from a backing plate. This means I can work from an arbitrary bitmap, but given I’m going to have to stick all of this together, let’s try and find something fairly small. Unfortunately, most of the interesting small bitmaps (say for example Mario) are at least 16×16, which would mean sticking together 256 items, which is a bit much for my first go at this. In the end, I went with one of the ghosts from Pacman (the red one, “Blinky”), which is only 8×8 pixels (and actually ends up as 54 items to be stuck on, which isn’t too bad). Using cgkit and PIL, I’m able to write some code that takes in a bitmap and displays a rotatable version of how the sculpture would look:
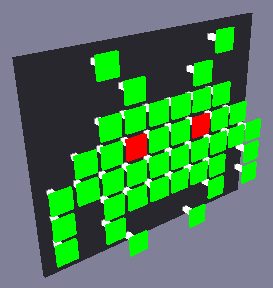
The grey part is a backing plate onto which the pieces can be glued, and the little white bits behind the red squares are the rods (which will be transparent in the end version). This has the major advantage that I can now rotate the proposed sculpture and see how it would look, or even test out multiple different designs:
Now I’ve decided what I want to build, let’s actually make it! I cheated a little and got someone else to make the parts for me, mainly as I was in a bit of a rush as I wanted to show this off at Barcamp London 9, but here’s some assembly photos. I considered using acrylic cement, but in the end cheap superglue turns out to be a much easier option.
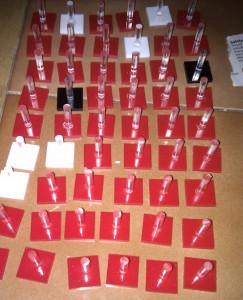
I started by laying out all the pieces and making sure I had enough parts
I then stuck all the rods to the back of the squares
I then drew a grid on the backing plate so I knew where to put the pieces (this was wiped off afterwards)
and then started to glue each of the rod/square pairs in the locations specified by the original bitmap
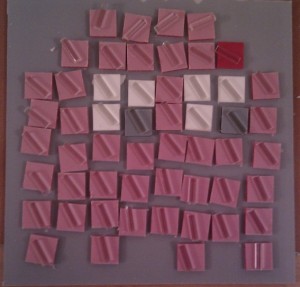
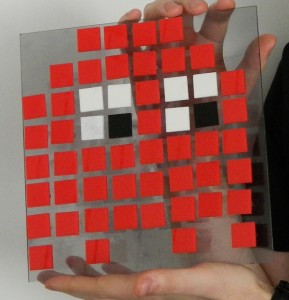
And here’s the finished product
He’s a tad wonky, but for a first attempt which was assembled almost entirely in one evening, it’s pretty good, and certainly good enough to go on my wall.
